
A booth that only takes cash earns from the few guests still carrying any. This walks through turning on charging, choosing the card reader, and proving it works before you leave it at a venue.
What you need
- A card reader wired to the booth. Ours run through a Qibixx MDB bridge, which is the small box that lets vending hardware and a Windows PC talk to each other.
- A merchant account with whoever supplies the reader, already activated.
- A separate 24V supply for the reader. Do not try to run it from the computer.
- About thirty minutes, plus however long your payment company takes to activate the reader.
1. Turn charging on
Open Studio, then under Booth choose Payment. Check This booth charges for a session.
Worth knowing: everything below that checkbox stays visible but grayed out until you turn charging on. If the reader and price boxes look dead, this is why. Nothing you set is lost when you switch charging back off, so you can set a booth to free for a private party and back to paid afterward without redoing anything.
2. Choose the reader
Under Payment terminal, set Reader to the hardware you actually installed.
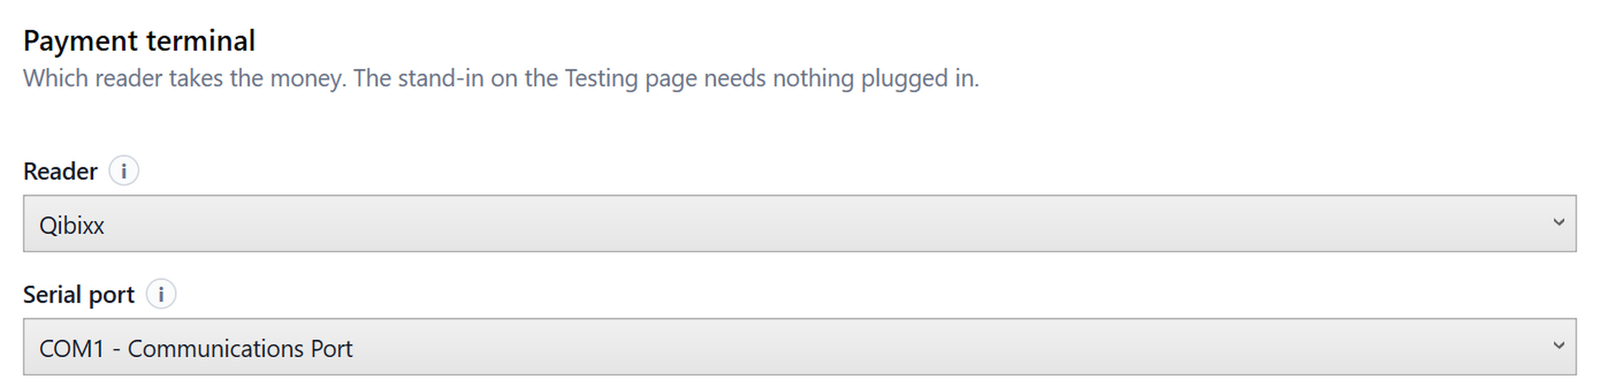
Read this twice. There is an option called Mock. It approves every session after a short pause without a card and without taking a cent. That is exactly what you want on a workbench and a disaster at a venue, where it means handing out free photos all night. Check this setting before every install.
3. Decide when the guest is charged
Under Taking payment you control when the money is taken and how much of the time the reader is awake.
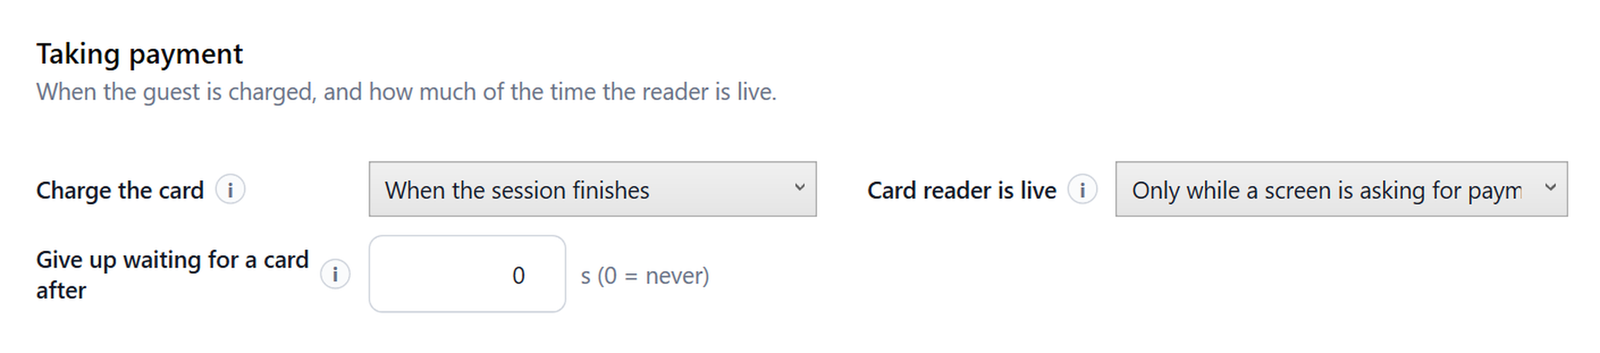
- Charge the card decides whether the money is taken up front or once the photos are done.
- Card reader is live keeps the reader asleep except when a screen is actually asking for payment, so a passer-by cannot tap it by accident.
- Give up waiting for a card after sends the booth back to the start if nobody pays. Zero means it waits forever, which leaves the booth stuck on a payment screen.
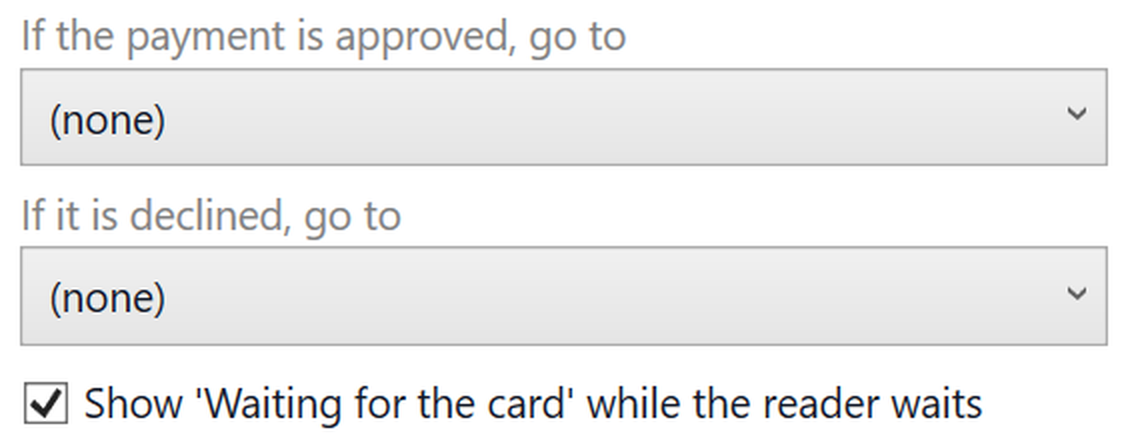
4. Send approved and declined guests somewhere sensible
A declined card should not dump the guest on a dead end. Set where each outcome goes so the booth always recovers on its own.
5. Test it twice
First test with the stand-in reader under System, then Testing. That proves your screens, prices and flow are right with no hardware involved. Then switch to the real reader and run one genuine paid session end to end, including the print.
Do not skip the real card. A reader that approves but never actually captures the payment looks identical to a working booth until your settlement report arrives days later.
Common questions
Does this work with a Nayax terminal?
Yes. The bridge speaks the vending industry’s standard payment language, so the booth does not need to know which brand of reader is on the other end.
What happens if the internet drops during a payment?
The reader handles the approval, not the booth, so a network problem shows up as a decline or a timeout rather than a guest who is charged and gets nothing. The booth returns to its start screen.